This guide presumes that you’ve already done the basic configuration of Picqer.
Picqer
-
Configuration
In Picqer, go to ‘Settings’ > ‘Package services’ > ‘Add new parcel service’. Choose DPD from the list and click on ‘Link‘. the next screen appears:
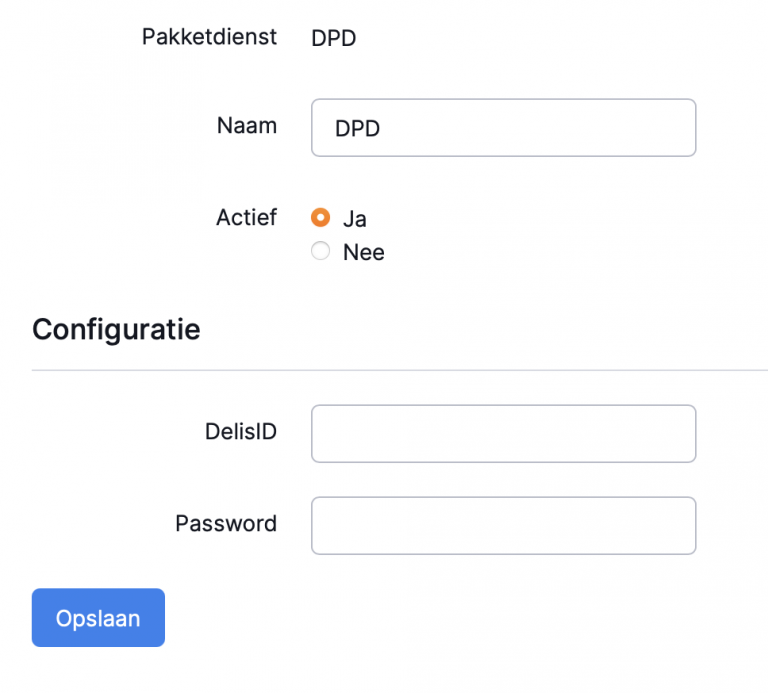
Fill out all fields and press save.
You have now linked Picqer with DPD. Now you need to create profiles for the DPD shipping services you want to use in Picqer.
Add shipping profiles
Click on the link with DPD you just created. You will come here automatically if you have just added DPD as a parcel service. Click on ‘+ Create shipping profile’ at the top right
Fill in all fields here, taking into account the following conditions.Environment must be live unless you specifically want to test. Always discuss this with CustomerIT (customerit@dpd.nl).
At Shipping method you choose the shipping service that you want to use within Picqer.
At Print format you choose A6, unless otherwise indicated by CustomerIT.
Language must be either nl_NL for Dutch or en_US for English. These languages are used when creating a label.
At Depot you enter the deposit that you have collected during the preparation.
At Name, Street, Housenumber, Postal code and City you enter the data as it is known for your DelisID at DPD. Please note, the zip code must be entered without spaces.
At Country you enter the two-letter country code as it is known for your DelisID at DPD. You can check the ISO website or Wikipedia for all two-letter country codes. -
Generating labels
Go to Menu > Picklists click the order you want to generate a label for then scroll down to Shipments and click the button label.